
Recover clarity without pushing too far
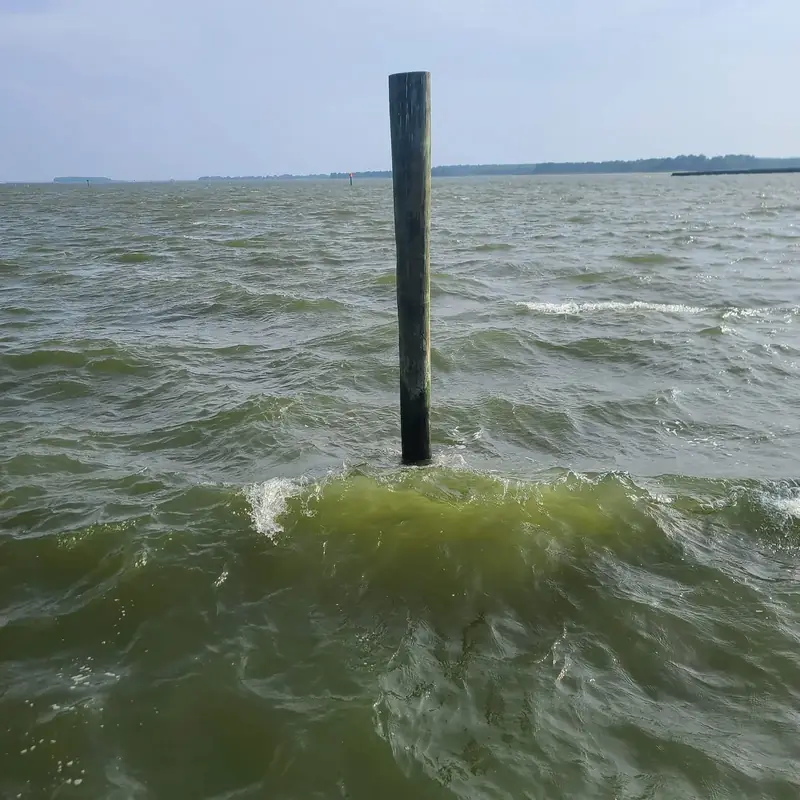
Action scenes and water texture both fall apart when sharpening gets too aggressive.
The mistake most people make is pushing cleanup too hard. Soft phone footage usually needs a careful recovery pass, not maximum sharpen, maximum denoise, and maximum contrast all at once.
Even when the article is about video, these photos show the same cleanup principle: recover useful detail and balance without making the result look harsh, fake, or overprocessed.
Action scenes and water texture both fall apart when sharpening gets too aggressive.

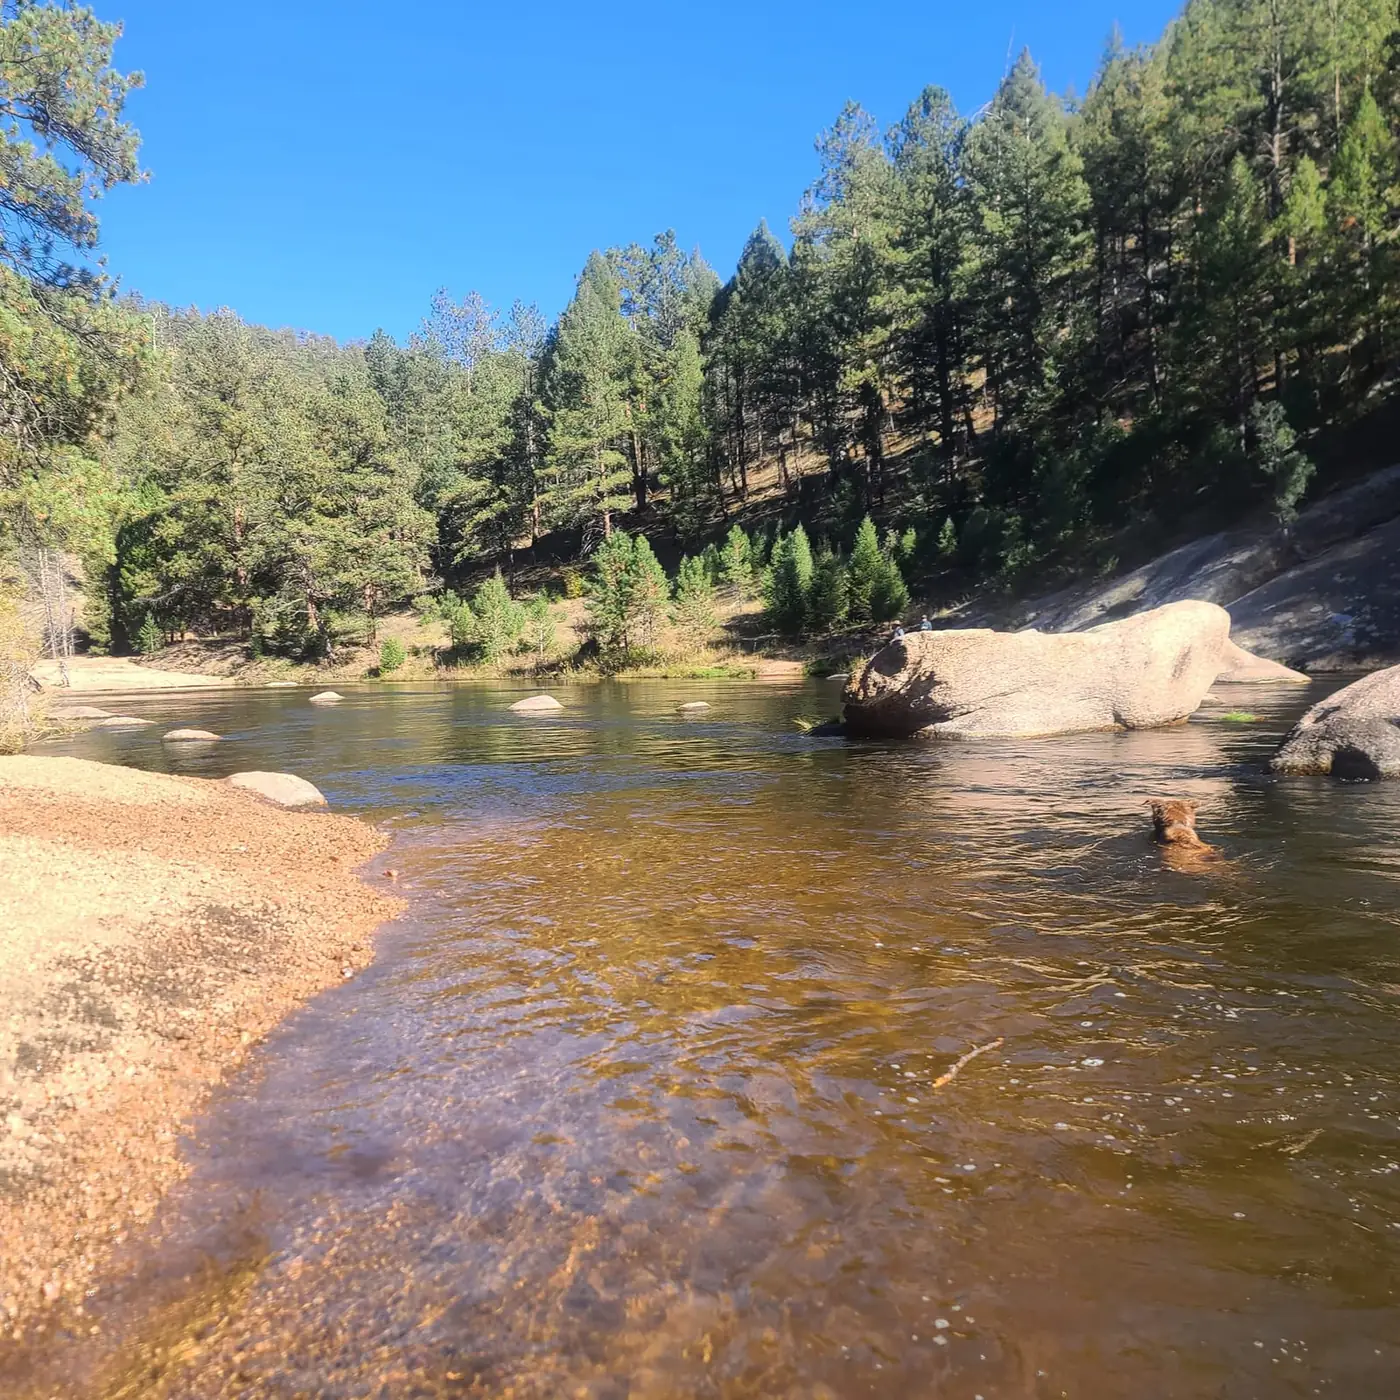
Good enhancement keeps the original scene readable and natural.
People often blame the wrong thing. “Blurry†phone video is usually a mix of issues rather than one clean defect. Before you touch any enhancement tool, figure out which of these is actually happening:
If the problem is mostly missed focus, no workflow will restore perfect detail. But if the clip is merely soft, noisy, or over-compressed, you can usually make it meaningfully cleaner.
The best-looking result is not the strongest result. When a video starts to look etched, crispy, haloed, or overly contrasty, you have gone too far.
If you are using the MikeSullyTools AI Video Studio, the safest order is:
This order matters because cleanup and sharpening fight each other when both are pushed. Too much denoise can smear edges. Too much sharpen can turn normal noise and compression blocks into ugly false detail.
That usually creates halos around edges, crunchy faces, and a fake “processed†look that is worse than the original softness.
Strong denoise, strong sharpen, high contrast, boosted saturation, and brightness changes together almost always look synthetic.
Upscaling a weak source can make the weaknesses larger. Keep the output practical unless the delivery really needs a bigger file.
If the clip came from text, social upload, or a second export, part of the softness may be delivery damage rather than original capture quality.
Use the normal workspace when the clip is only moderately soft and still holds decent base detail. If the clip has multiple problems at once, start with a conservative workspace pass and keep support questions on the support page.
Then compare the result against the original at normal viewing size, not while zoomed in hunting for microscopic detail.
Judge the result at normal viewing size next to the original. If the cleanup looks cleaner but still natural, stop there. If it starts looking etched, waxy, or artificially sharp, back off the settings.