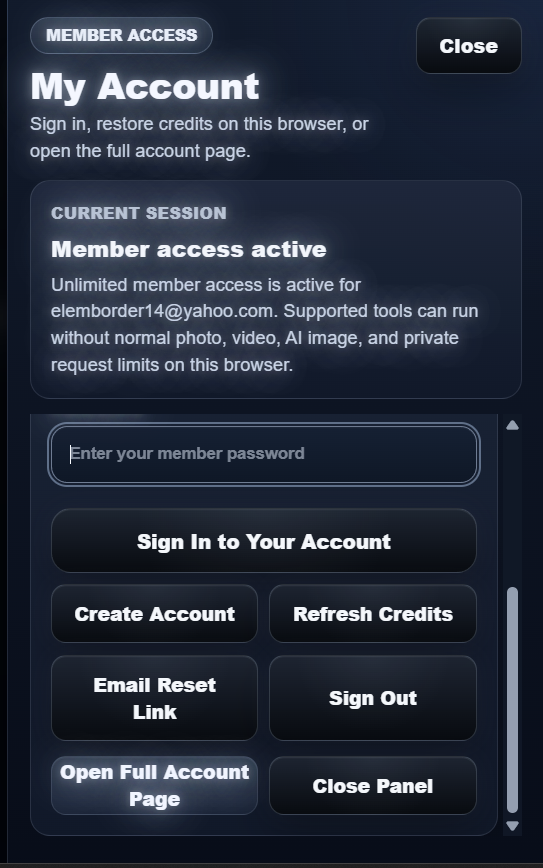
Member Access
When signed in, the long header strip shows the member email and available credits. In a guest session, the studio still shows status, Site Links, Buy Credits, and My Account.
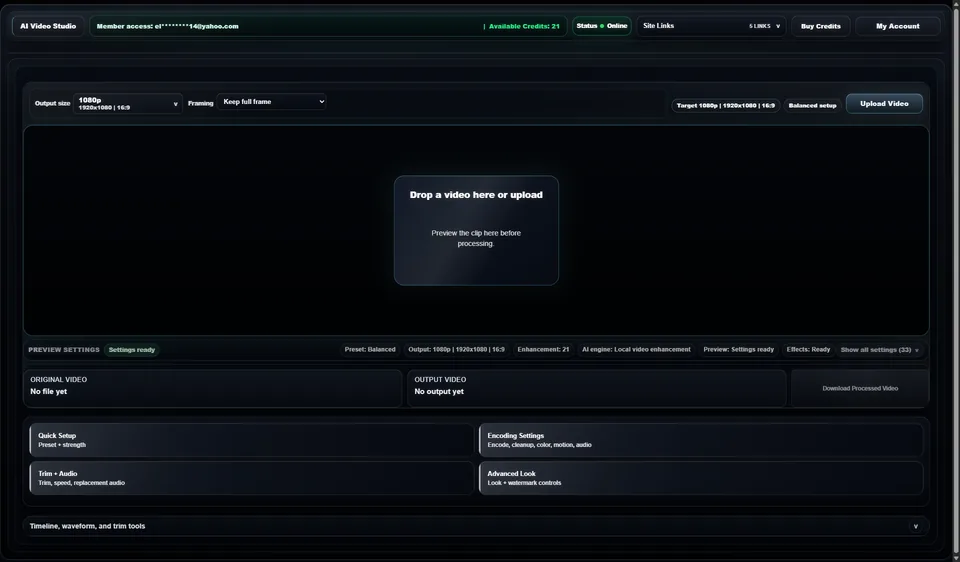
Use the annotated studio map to find the redesigned AI Video Studio header, output size, framing, upload stage, preview settings, result cards, settings panels, timeline workflow, credits, and account access.
Use these shortcuts to show one part of the AI Video Studio guide at a time. The active section opens below while the rest of the workflow stays tucked away.
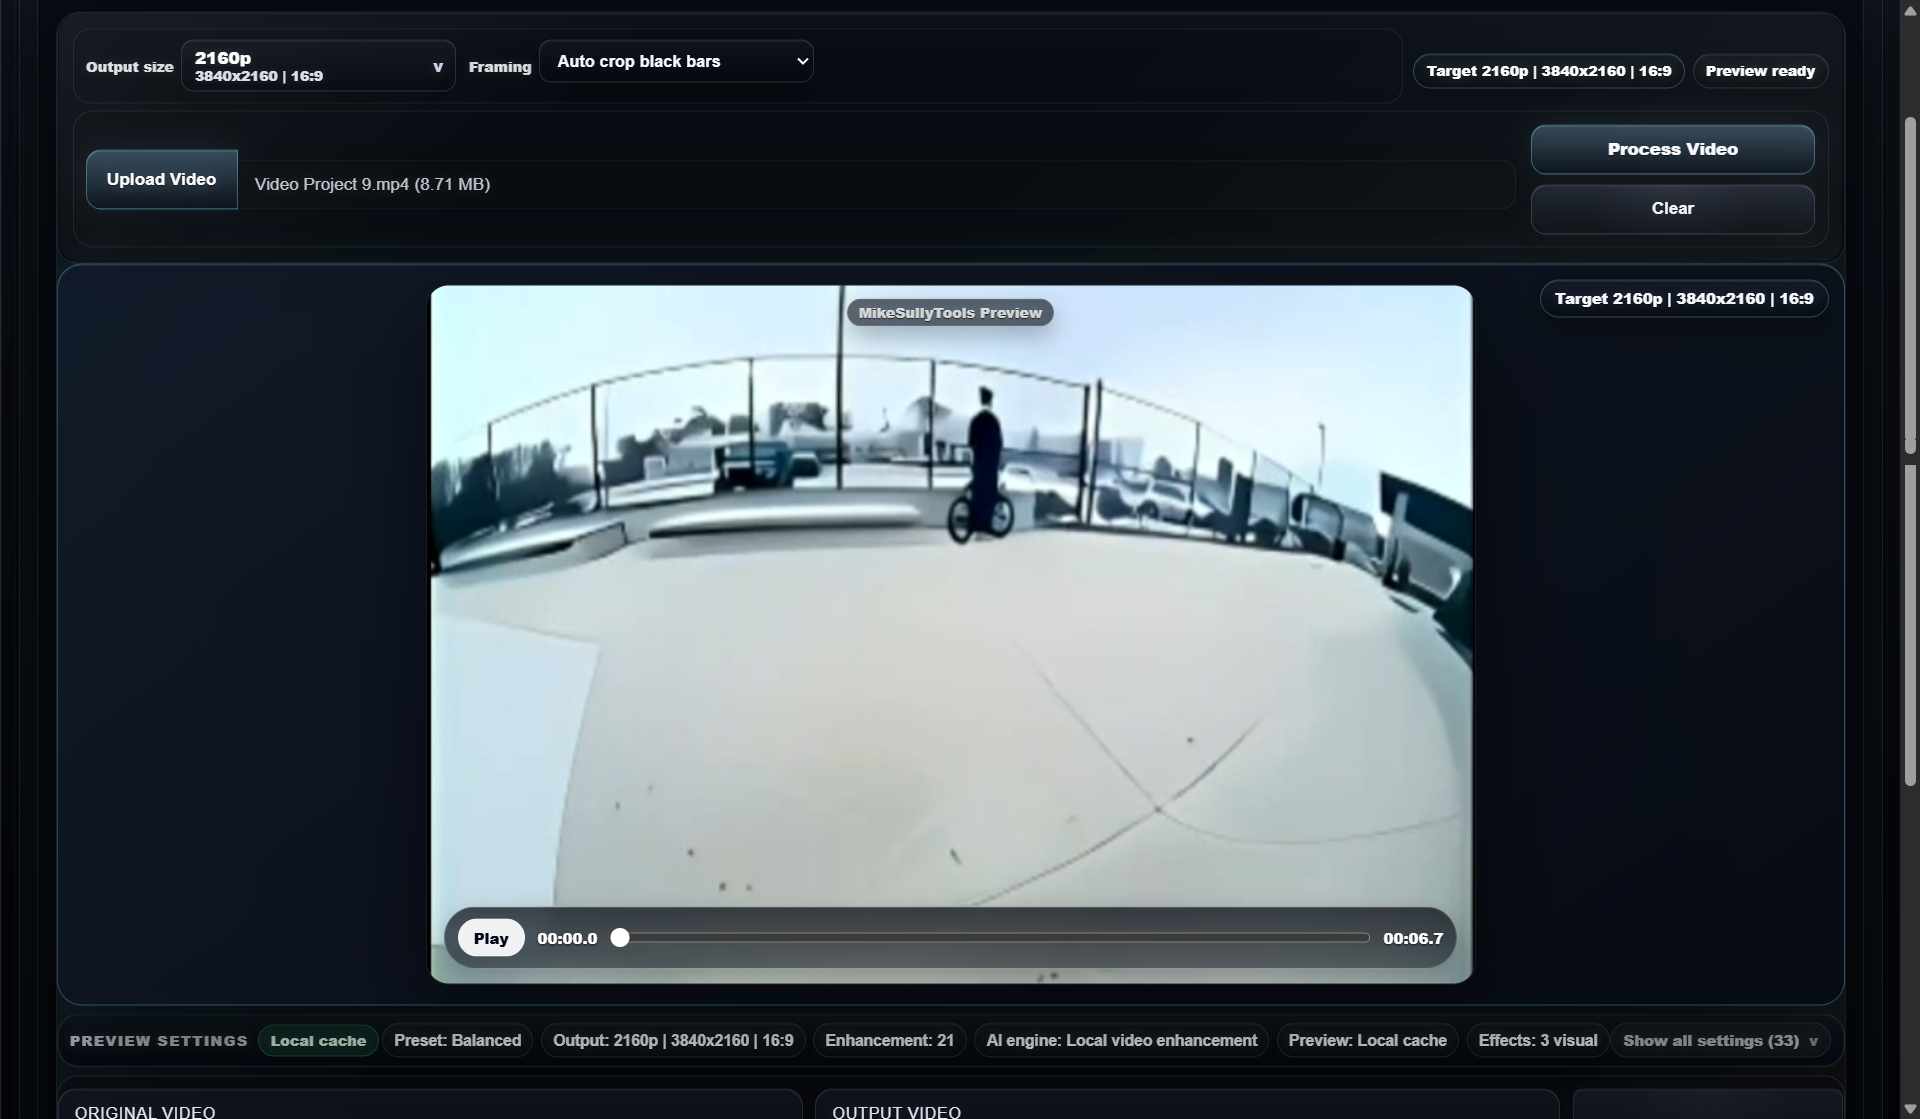
Back to annotated mapThe redesigned AI Video Studio starts with a compact AI Video Studio header that keeps account state, paid credit access, service status, navigation, and account actions visible while the workspace stays open.


When signed in, the long header strip shows the member email and available credits. In a guest session, the studio still shows status, Site Links, Buy Credits, and My Account.
Status confirms whether the service is online before the user uploads or processes a clip.
Buy Credits opens the video credit checkout path. Use it when the available balance is low or a longer clip needs more processing minutes.
My Account opens account access for sign-in, credit restore, and session management without relying on footer navigation.
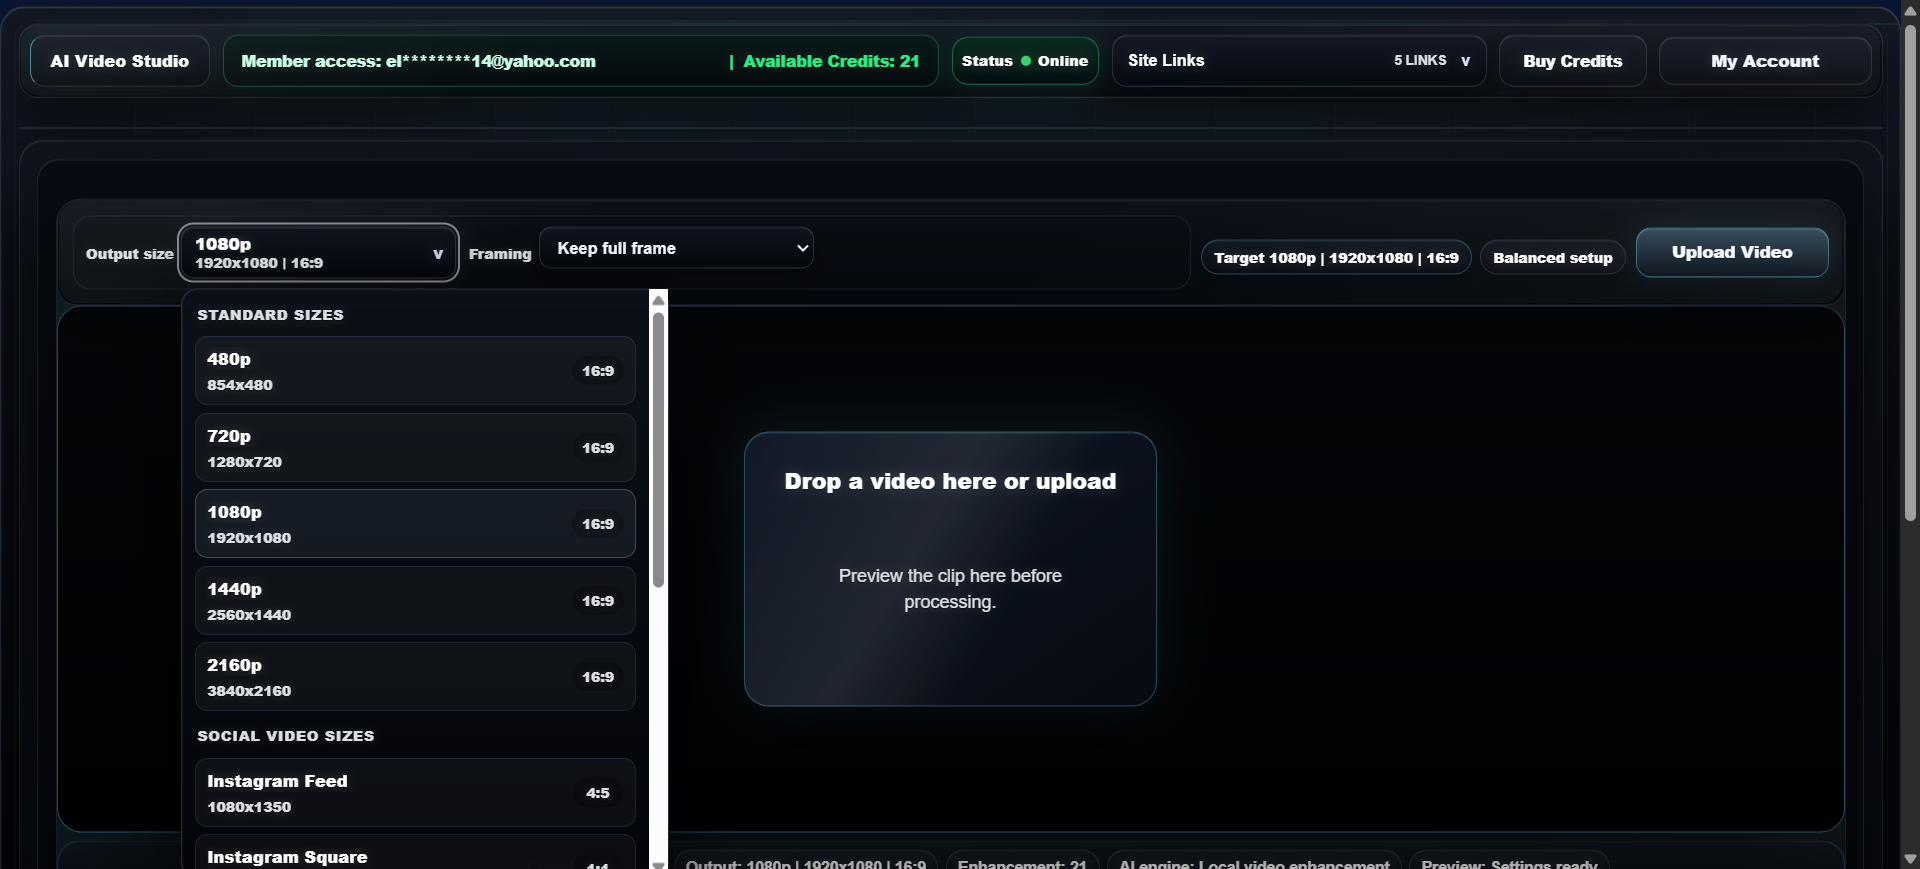
The first setup row defines the export target before a source clip is selected. Output size controls resolution and ratio. Framing controls whether the clip keeps the full frame or allows black-bar crop cleanup.
The Preview Settings strip is the live job summary. It mirrors the current preset, output target, enhancement level, AI engine, readiness state, effects state, and expanded configuration list.
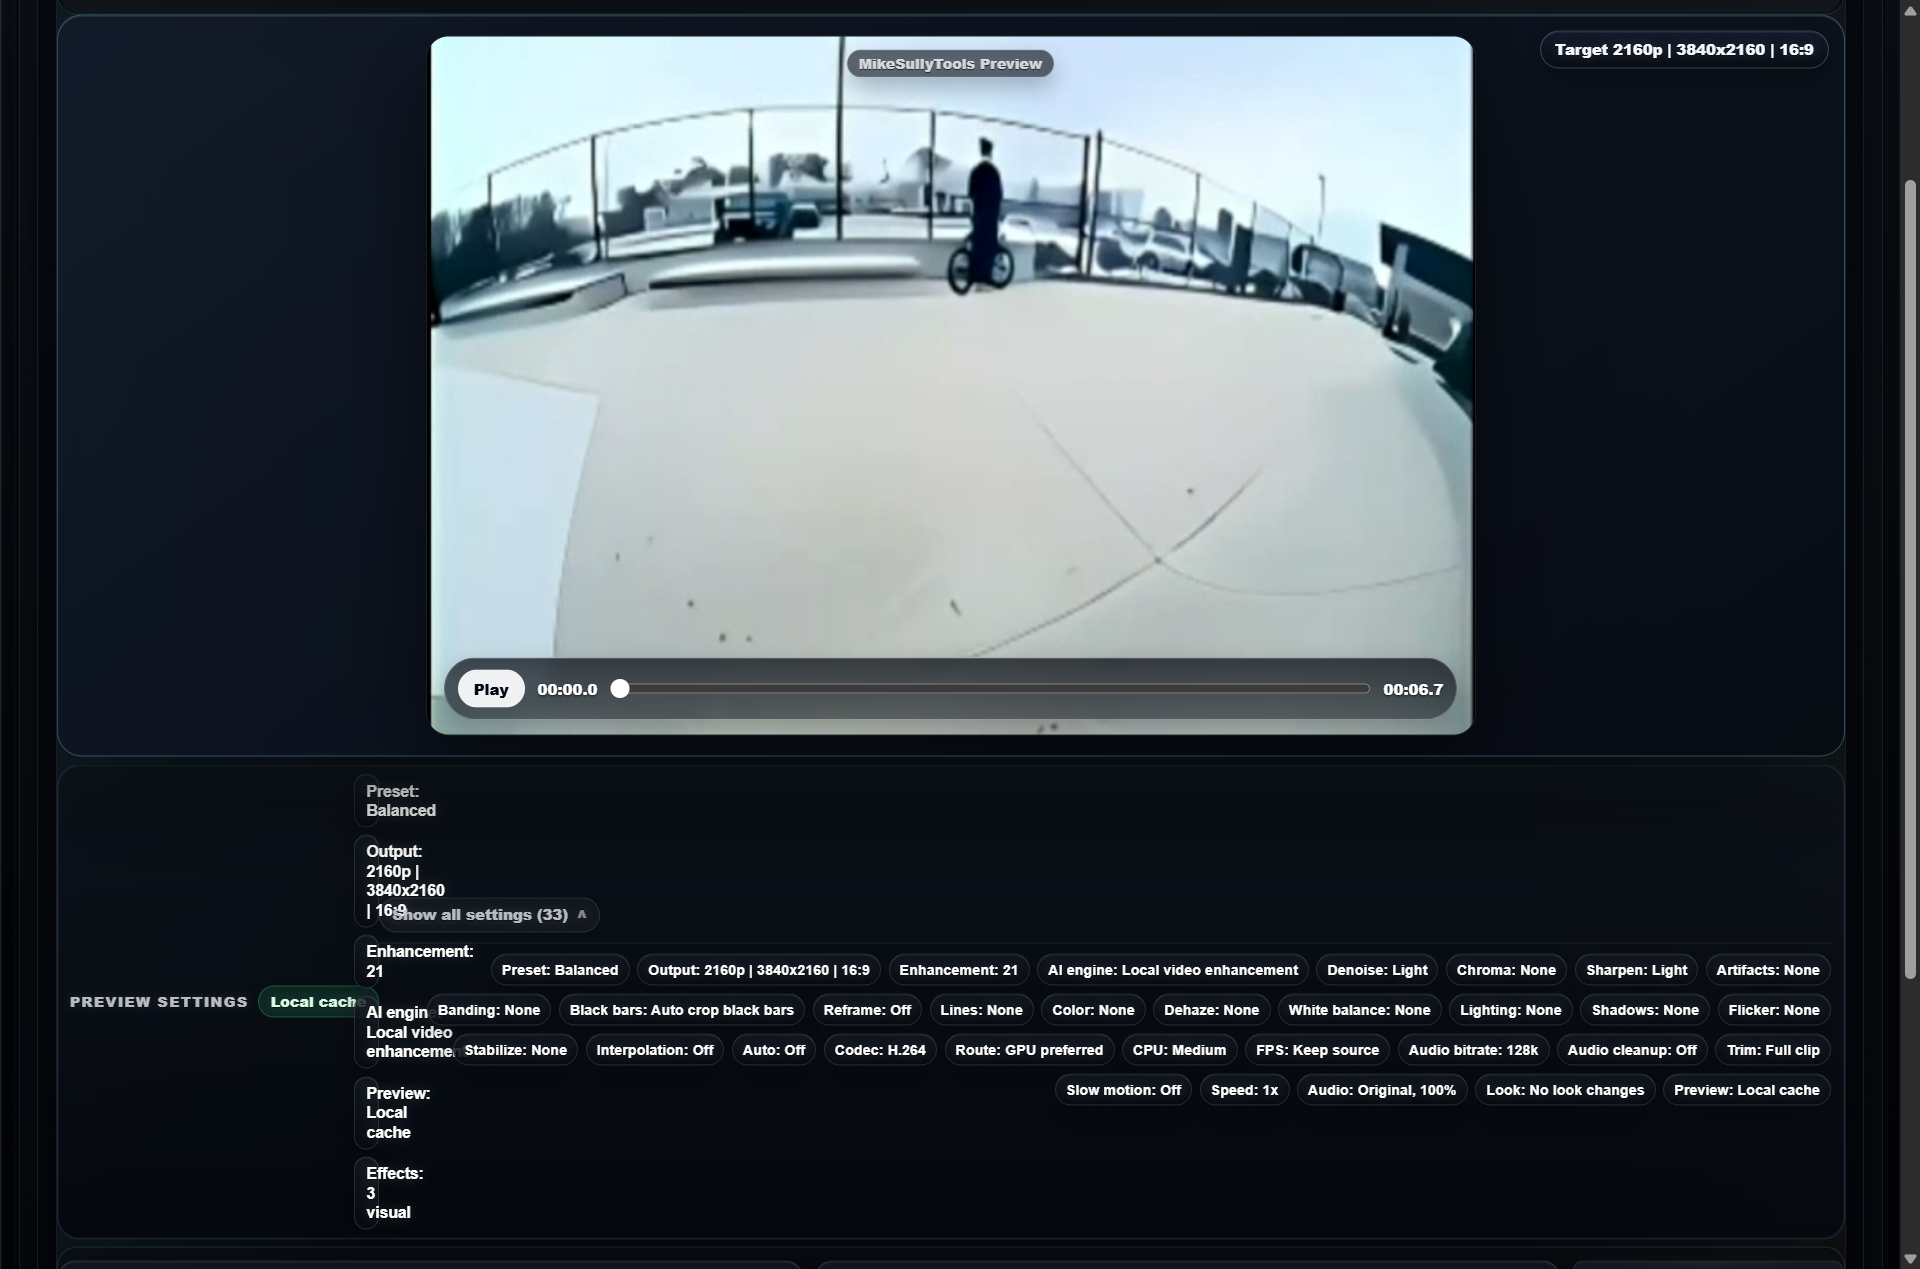
Preset, Output, Enhancement, AI engine, Preview, and Effects pills show the most important processing choices without opening a panel.
Settings ready means the current setup is valid for preview and processing. Effects ready means the queued effects are in a ready state.
The default local video enhancement engine is shown in the strip so the user can confirm the processing route before starting.
Use Show all settings when a user needs the full hidden configuration behind the current preset and panel choices.
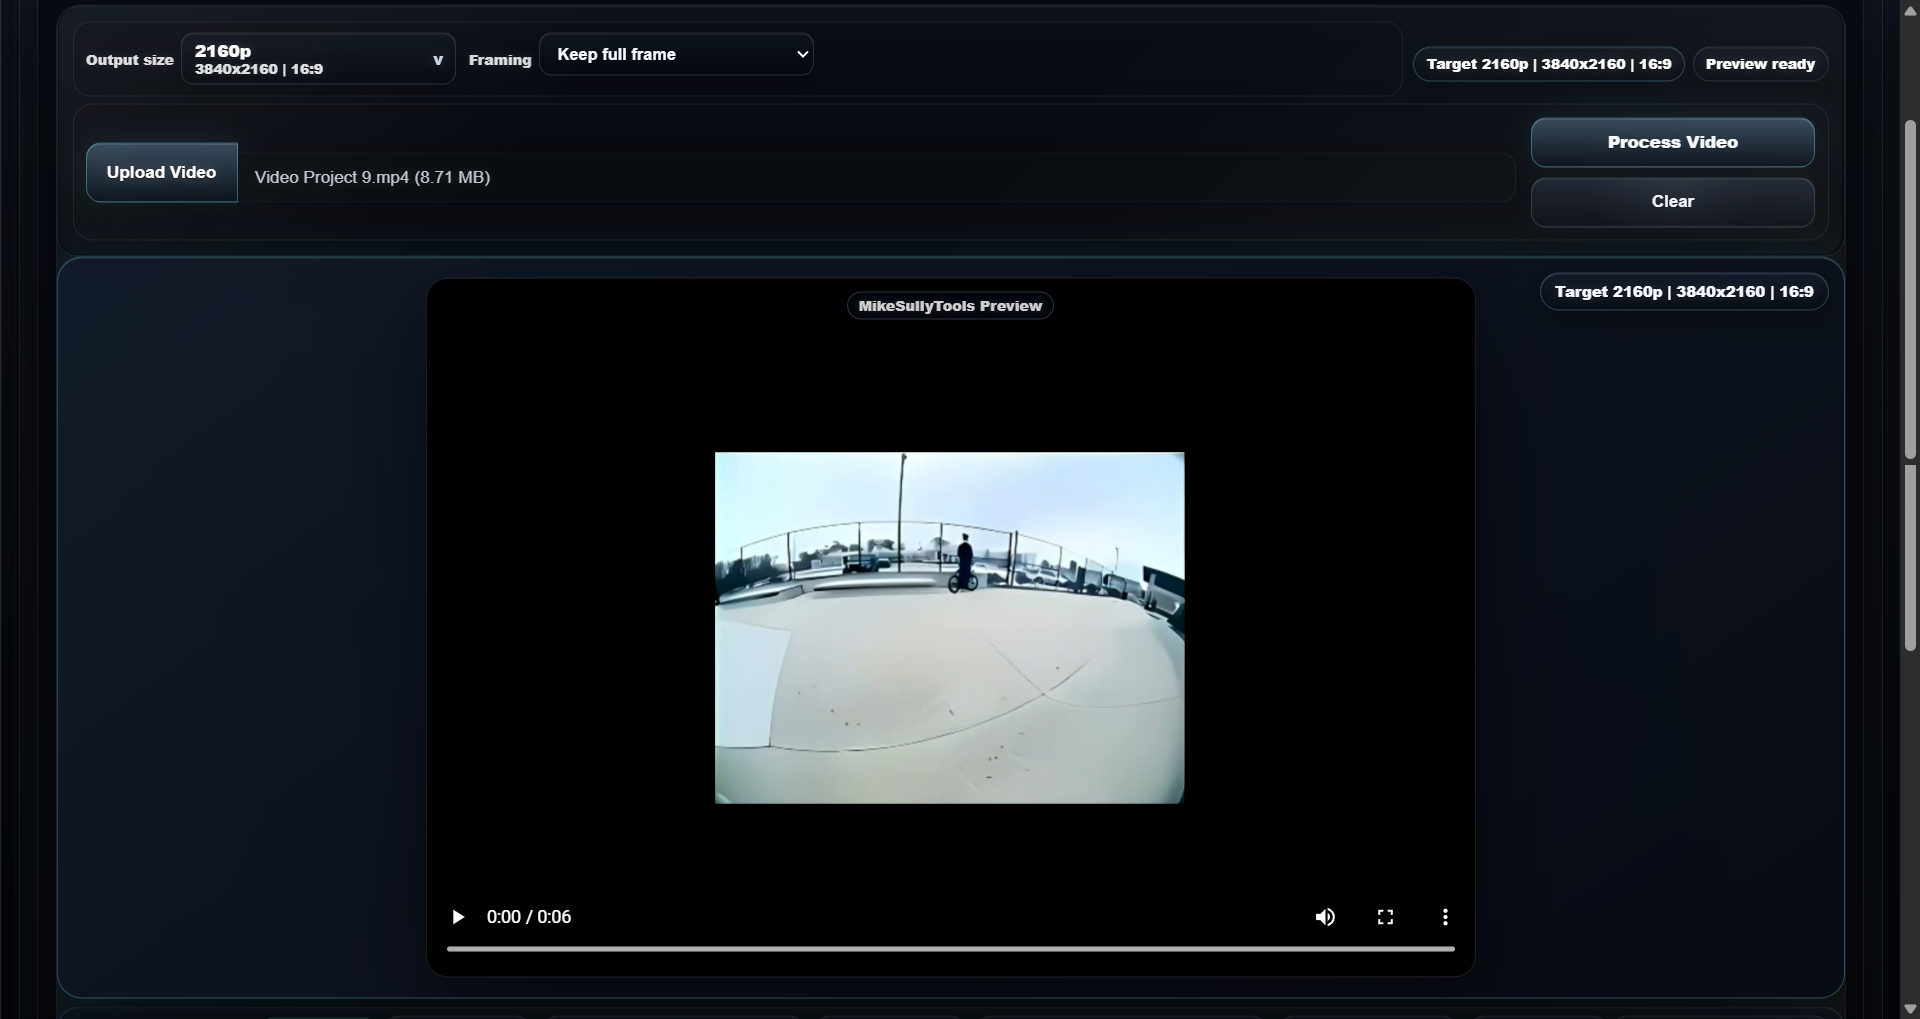
The middle of the studio is the working area. The large black stage previews the incoming clip, while the status cards below confirm source state, output state, and download readiness.

Drop a video here or upload is the active intake point. After upload, this area previews the clip before processing.
Original Video confirms source file state. Before upload it reads No file yet.
Output Video confirms processed file state. Before processing it reads No output yet.
The download card stays disabled until the processed result is available.
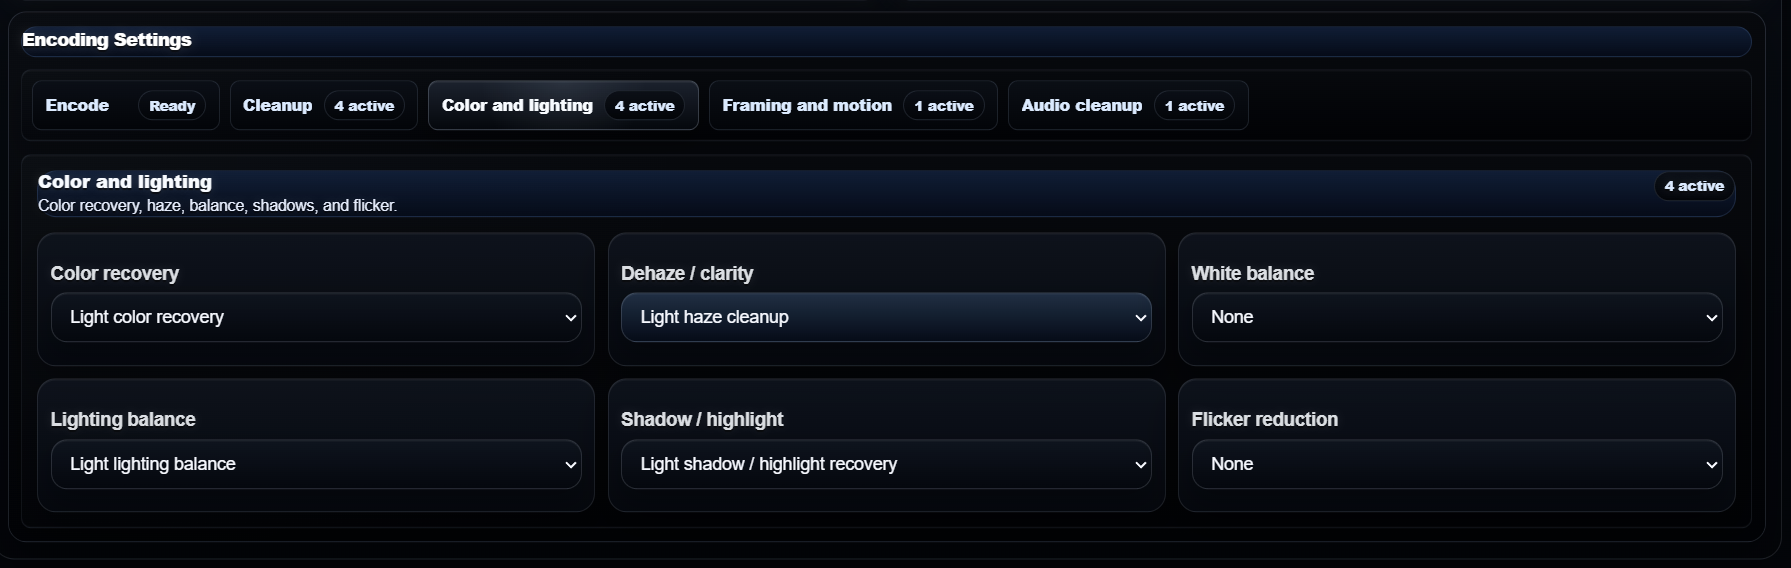
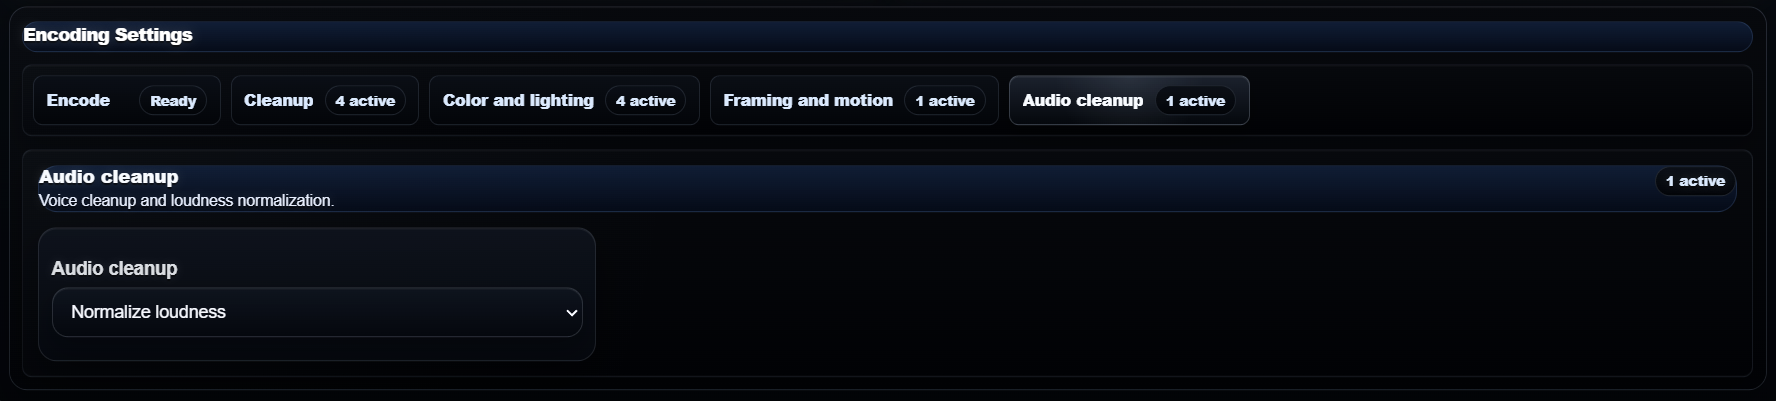
The first two settings panels cover the normal setup path. Quick Setup is the simple preset and strength pass. Encoding Settings opens the detailed encode, cleanup, color, motion, and audio cleanup groups.


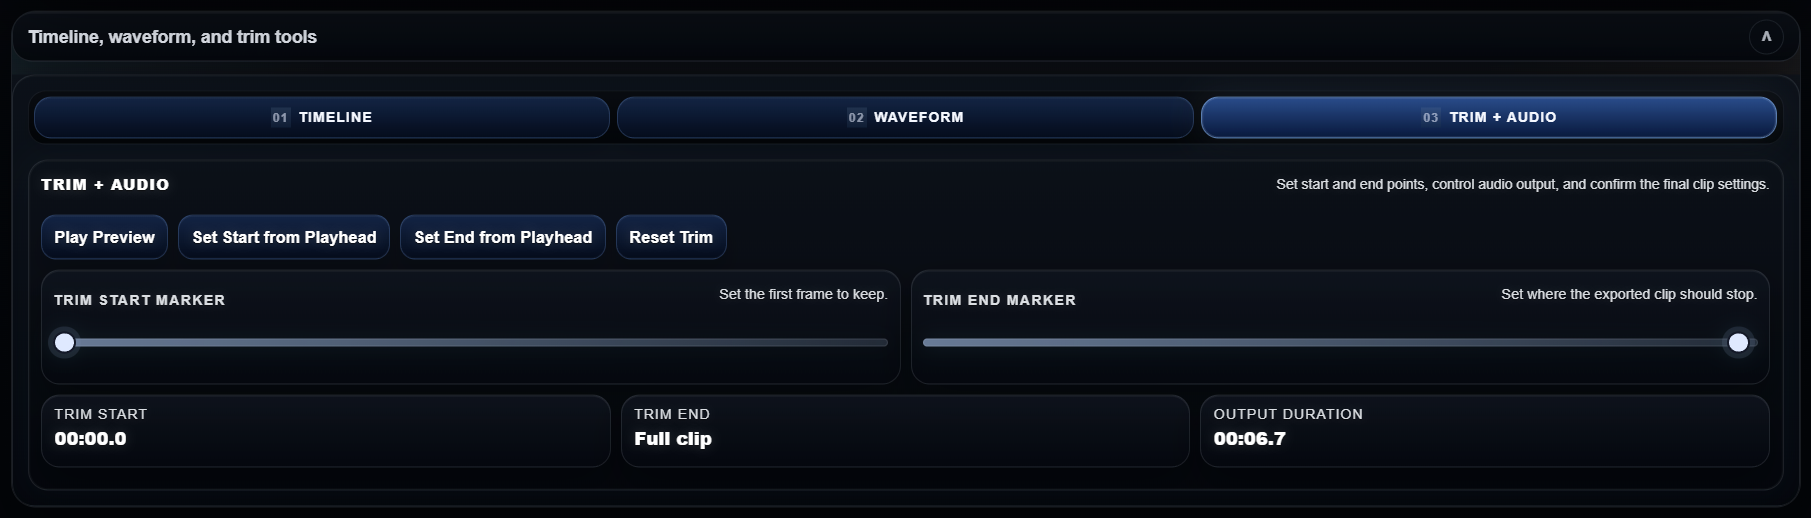
Trim + Audio and Advanced Look cover the clip-specific finishing work. Use them after the basic output, framing, preset, and encoding choices are correct.
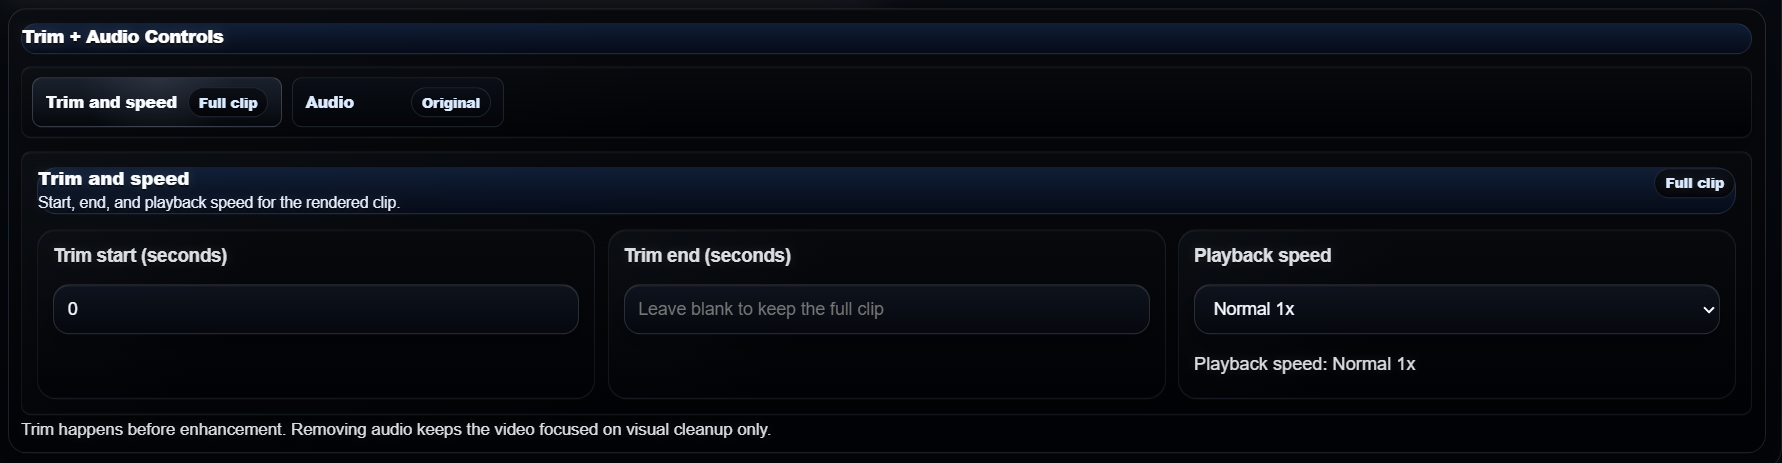
Set trim start and trim end when the export should process only part of the clip. Leave trim end blank to keep the full remaining clip.
Use playback speed when the rendered clip should run slower or faster than the original.
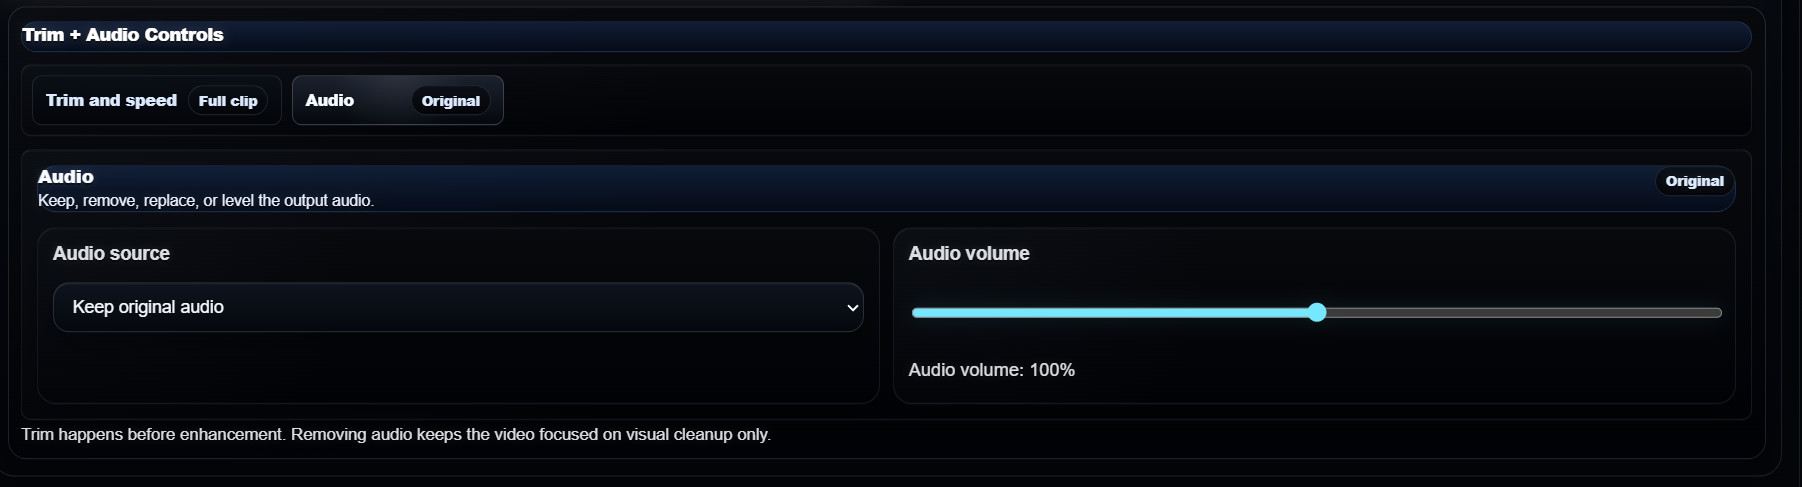
Keep original audio, remove it, adjust volume, or use replacement audio when the clip needs a sound change.
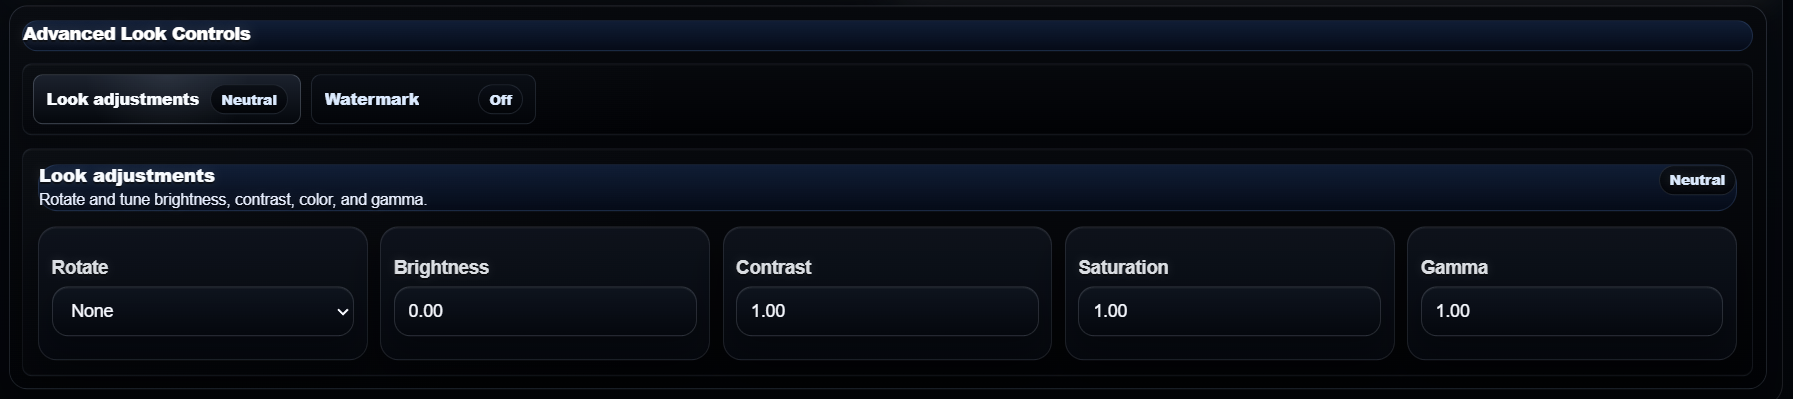
Use Advanced Look for final rotation and image tone changes after the core enhancement settings are ready.
The lower workflow stays collapsed until it is needed. Expand it to scrub through the clip, check timing, inspect waveform, and lock final trim and audio decisions.
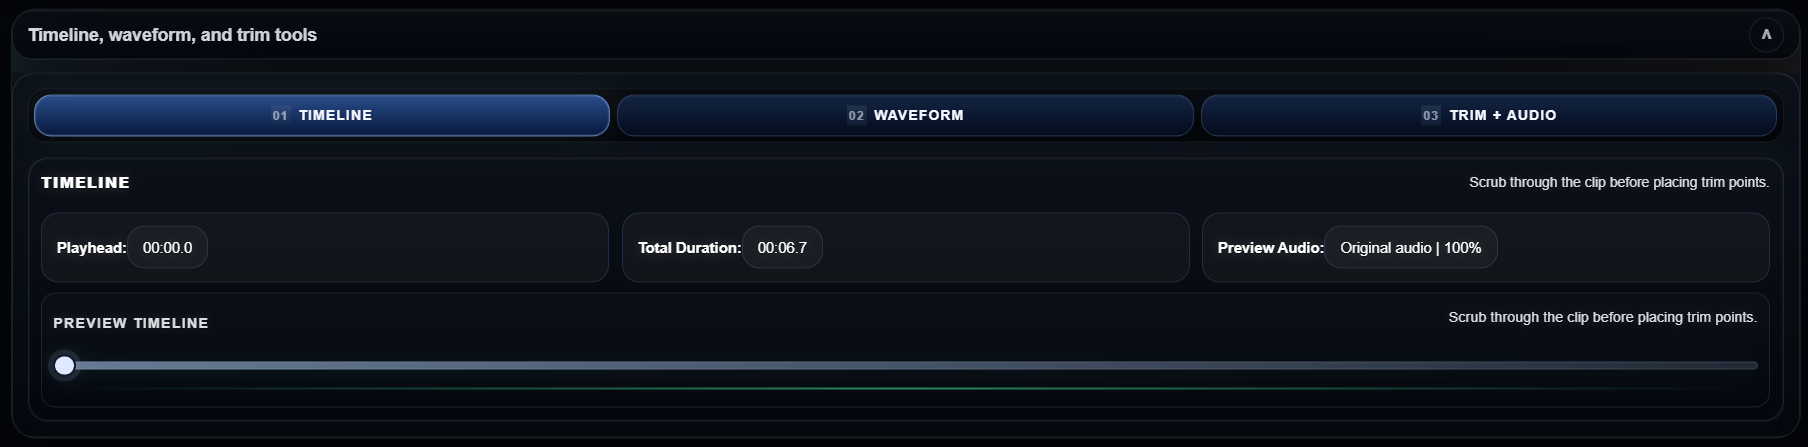
Use Timeline to scrub through the preview and place visual timing decisions before final processing.
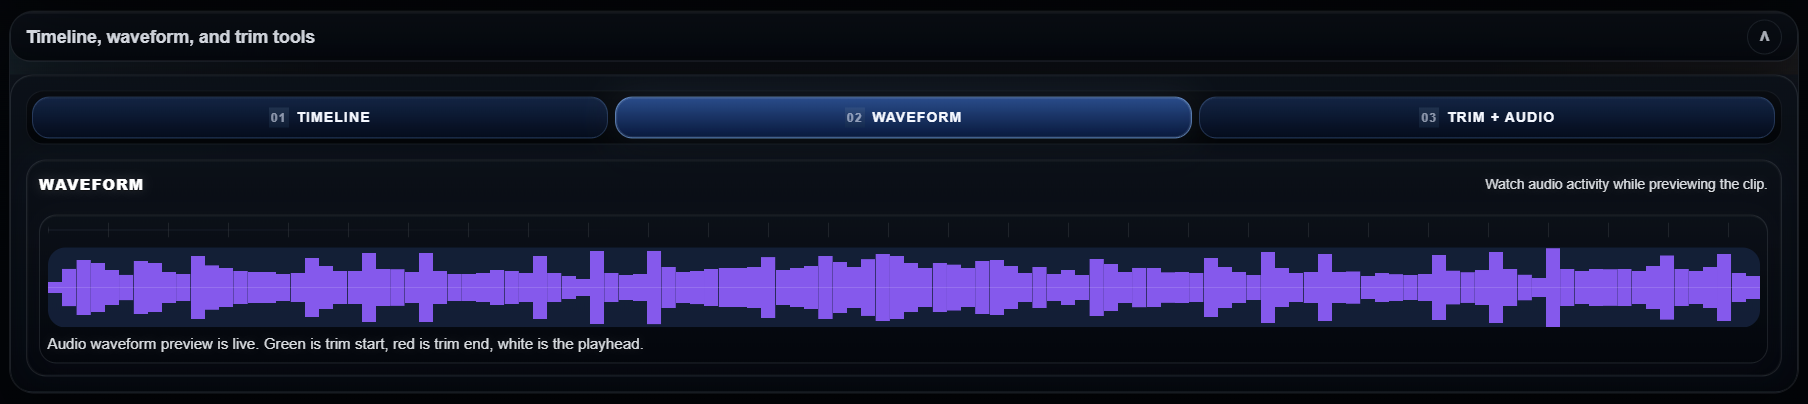
Use Waveform to spot audio activity and decide where speech, sound, or silence should be trimmed.
The lower Trim + Audio path supports final range and sound decisions after timeline review.
Playhead, total duration, and preview audio readouts keep the review state visible while the user scrubs.
Use these starting setups when a user needs a fast path through output, framing, preset, trim, timeline, and export controls.
Output: 1080p. Framing: Keep full frame. Preset: Balanced. Open Quick Setup only if the enhancement strength needs adjustment.
Choose the social output size first, then use Framing to decide whether the source should remain intact or crop black bars.
Set output target, upload, open Trim + Audio, set start and end, then expand Timeline tools to review the cut.
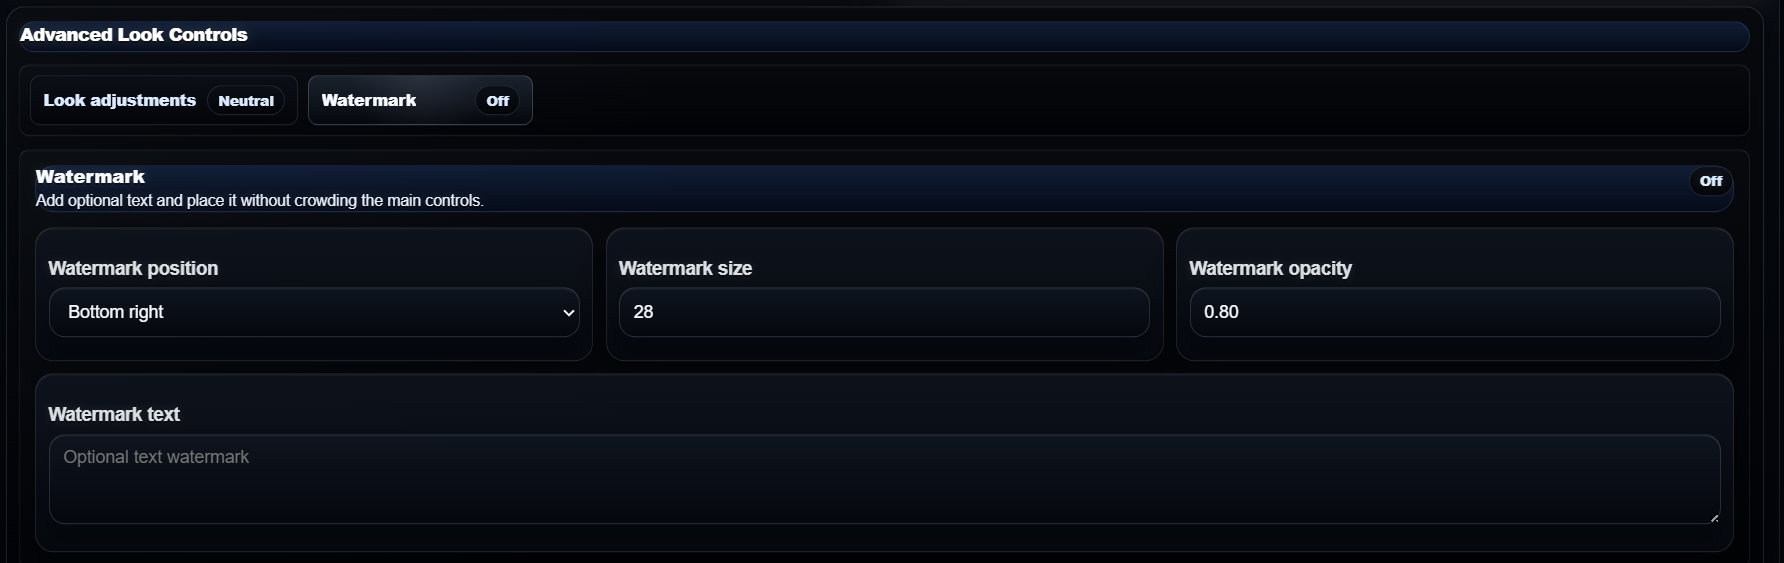
Use Advanced Look only after the output, preset, and trim are correct. Adjust rotation, brightness, contrast, saturation, gamma, or watermark.
Change Output size and Framing first. Those controls define the target before upload preview and panel-specific tuning.
Open Quick Setup when the clip only needs preset or enhancement strength changes.
Use Encoding Settings when the clip needs specific encode, cleanup, color, motion, or audio cleanup choices.
They are in the collapsed Timeline, waveform, and trim tools panel below the four main control buttons.