Generator state
Read the visible status, active mode, and credits before composing a main scene to avoid wasted generation attempts.
Use this practical map for the current AI Image Generator flow: prompt setup, frame control, Style + Refine, run metrics, credits, preview review, download flow, and the latest example patterns.
The top of the workspace shows online status, Buy Credits, member account state, and the prompt-to-image setup path.

Read the visible status, active mode, and credits before composing a main scene to avoid wasted generation attempts.
Buy Credits is the direct upgrade path when generations are not available. The guide sections below map to visible purchase points.
Use prompt examples, tutorials, and related guides when the first generated pass needs a stronger reference.
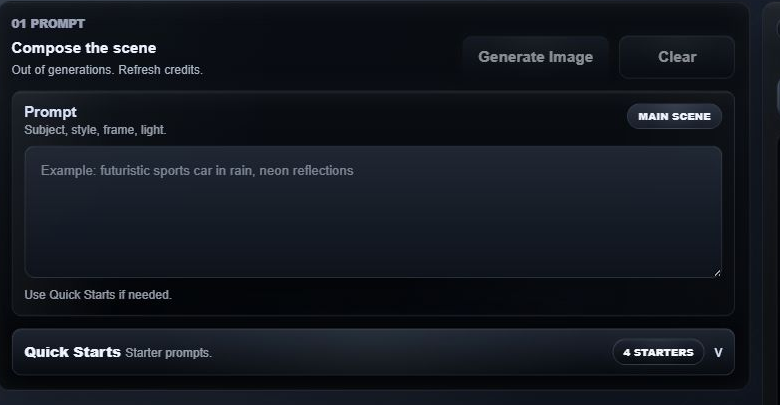
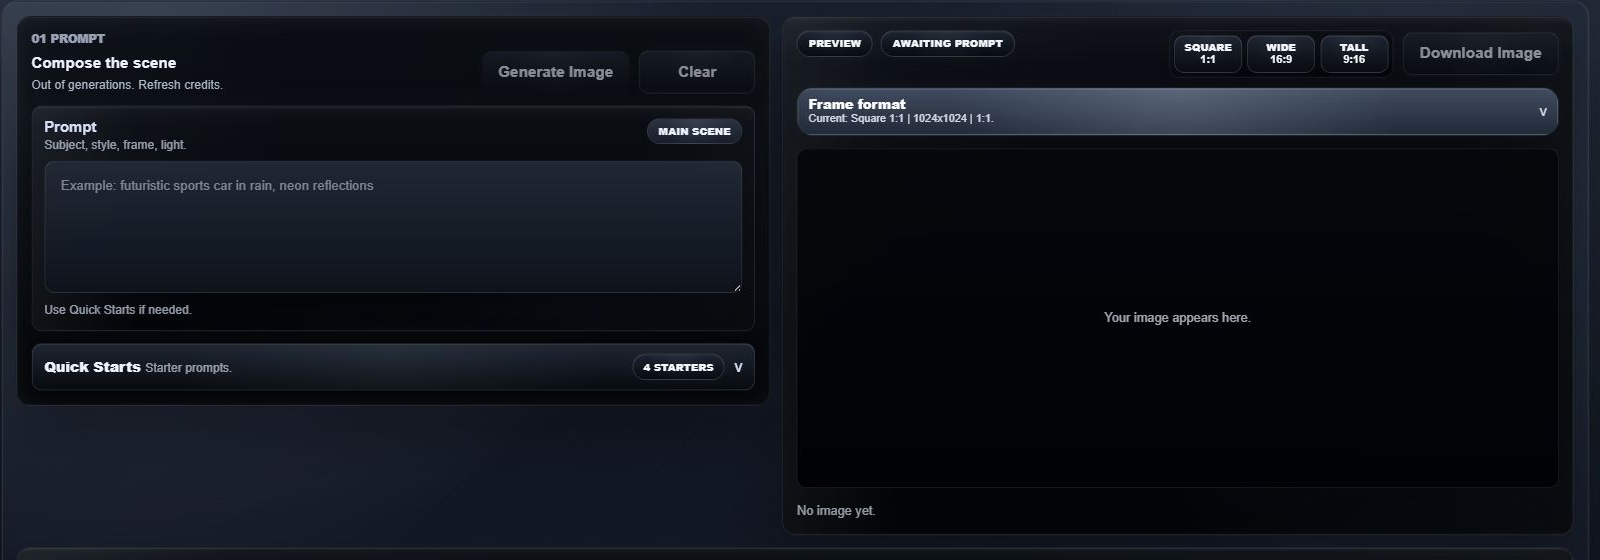
Write the main scene, use Quick Starts when needed, choose Square/Wide/Tall, then run the generator.

Start with explicit subject, composition, style cues, and lighting. The visible helper text prompts for these pieces.
Use them for reliable first drafts when the prompt field is empty or the first draft is still forming.
Choose Square (1:1), Wide (16:9), or Tall (9:16) before generating so crop direction is locked for destination.
Set the base look with one of four style families and keep modifiers aligned with the composition intent.

Best for natural, photo-like scenes with believable depth and restrained composition.
Best for dramatic contrast, mood shifts, and high-energy scene storytelling.
Use for symbolic, illustrative, or surreal concepts that need graphic polish.
Use for object shots, clear background control, and ad-ready clean framing.
Run Panel confirms prompt metrics, selected style and aspect ratio, plus credit state before and after generation.

Higher clarity often helps with longer prompts, but avoid overfitting details before testing a first pass.
Starter strength is for minimal prompts. Raise detail through specificity, not random modifier sprawl.
When no credits remain, use refresh or buy credits before retrying so the user-facing state is accurate.
Preview remains empty at first, then becomes the image review surface with frame summary. Download is a final action.

Wait until the final result replaces the empty state before deciding. Don’t treat the empty frame as output.
Download should be used only after generation finishes and the frame row matches the target dimension.
The frame summary is the final verification point: it ensures the output can be used where intended.
Use subject, style, frame, and light as your recipe fields. Keep the image brief and specific before the first run.

Subject + cosmic depth + cinematic framing + dramatic lighting. Use wide canvas for scale, then tighten scene details.
Start with clean subject/background separation, then choose Square or Wide based on placement channel.
Use bold typography direction, symbolic staging, and Tall for social stories when copy blocks are central.
Build believable lighting, realistic style, and moderate composition depth before refining details.
Common workflow questions for the current AI Image Generator UI.
Prompt, style, and frame should be set before clicking Generate Image.
Realistic for grounded visuals. Cinematic for mood-heavy scenes. Digital Art for stylized outputs. Product for ad-ready objects.
Square for default posts, Wide for landscape and banners, Tall for story and portrait formats.
Most often because credits are not available. Refresh state, sign in, or buy credits from the same browser.
Only after a final generated image is visible and the frame summary matches the requested format.